Tips for Shooting in Low-Light Conditions
Photography in low light conditions can be challenging, but with the right techniques and equipment, you can capture stunning images even in the darkest environments. This article will provide tips for beginner and intermediate photographers to improve their low-light photography skills.
Understanding Low-Light Photography
Before diving into the tips, it’s essential to understand the challenges of low-light photography:
- Difficulty in focusing: Autofocus may struggle in low light, making it harder to achieve sharp images.
- Increased noise: Higher ISO settings can increase noise or graininess in photos.
- Camera shake: Slower shutter speeds may result in camera shake, leading to blurry images.
Now, let’s explore some tips to help you overcome these challenges and create stunning low-light photographs.
Choosing the Right Equipment
Camera
Select a camera with a high ISO range and good low-light performance. Some cameras perform better at higher ISOs, producing less noise. A full-frame camera is recommended for better low-light capabilities.
Lenses
Fast lenses with a wide aperture (e.g., f/1.4, f/1.8, or f/2.8) allow more light to reach the sensor, resulting in better low-light performance.
Tripod
A sturdy tripod stabilizes your camera and avoids camera shake, especially when using slower shutter speeds.
Camera Settings
ISO
Increase the ISO setting to compensate for low light. However, be aware that higher ISO values can result in more noise in your images. Experiment to find the optimal ISO setting for your camera and the shooting conditions.
| Camera Model | Optimal ISO Range |
|---|---|
| Camera A | 800 – 3200 |
| Camera B | 1600 – 6400 |
| Camera C | 3200 – 12800 |
Aperture
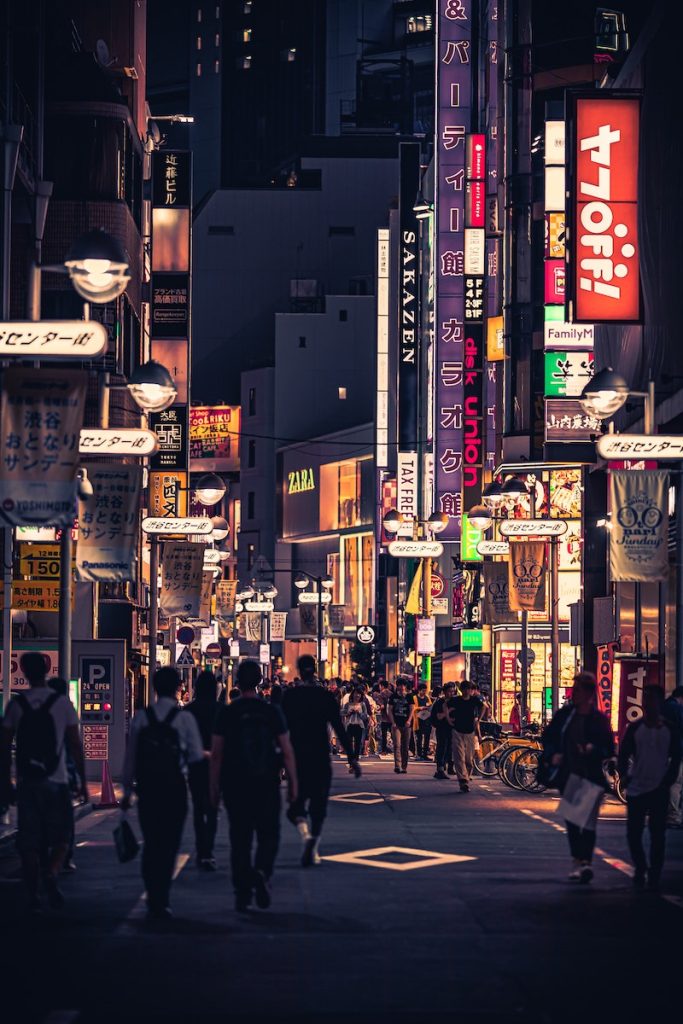
Use a wide aperture to allow more light to enter the camera. This helps achieve faster shutter speeds and reduces the camera shake risk.
Shutter Speed
Choose a shutter speed that’s fast enough to avoid camera shake but slow enough to allow sufficient light. A general rule is to use a shutter speed no slower than 1/[focal length] seconds when shooting handheld.
Focusing Tips
In low light conditions, focusing can be challenging, as your camera’s autofocus system might struggle to lock onto your subject. Here are some tips to help you achieve sharp focus in low light:
- Use manual focus: Switch to manual focus to take full control over your focus. This way, you can ensure that your camera is focused precisely where you want it.
- Focus on high-contrast areas: When using autofocus, aim at a high-contrast area of your subject to help your camera lock focus more effectively.
- Use a flashlight or an external light source: Illuminate your subject temporarily with a flashlight or an external light source to help your camera focus. Don’t forget to turn off the light before taking the shot.
- Use focus peaking: If your camera has a focus peaking feature, let it visualize which parts of the image are in focus.
- Increase your ISO: Increasing your ISO can help your camera’s autofocus work better in low light. However, be cautious about raising the ISO too much, as it can introduce noise to your image.
Composition and Creativity
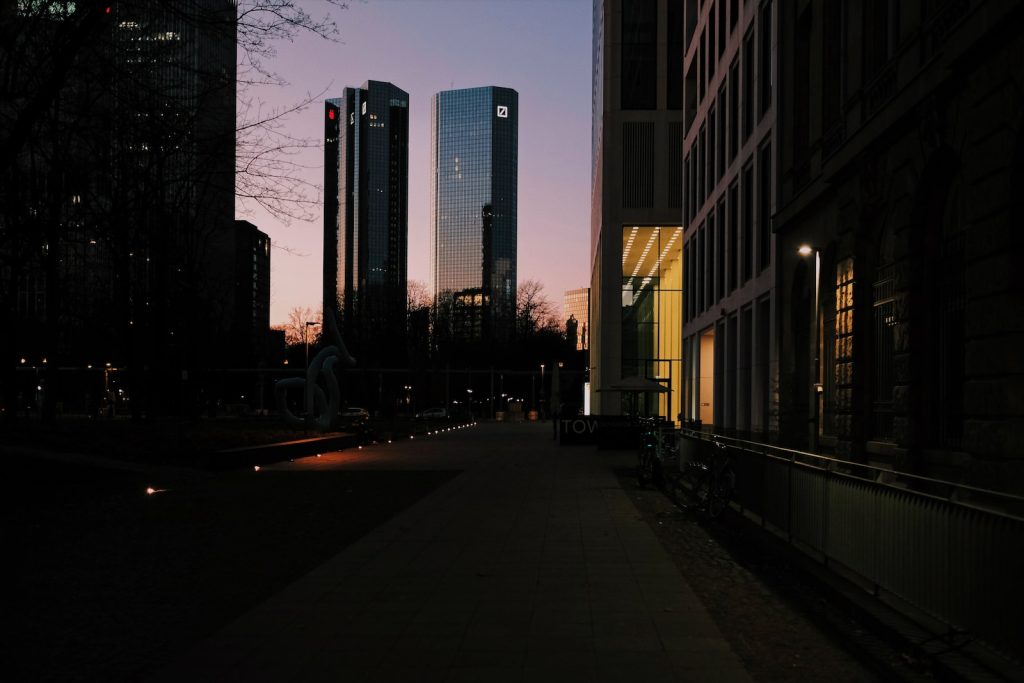
Low-light photography presents unique opportunities for creativity and composition. Here are some ideas to help you compose visually stunning images in low light:
- Embrace negative space: Use dark areas in your frame to contrast and highlight your subject.
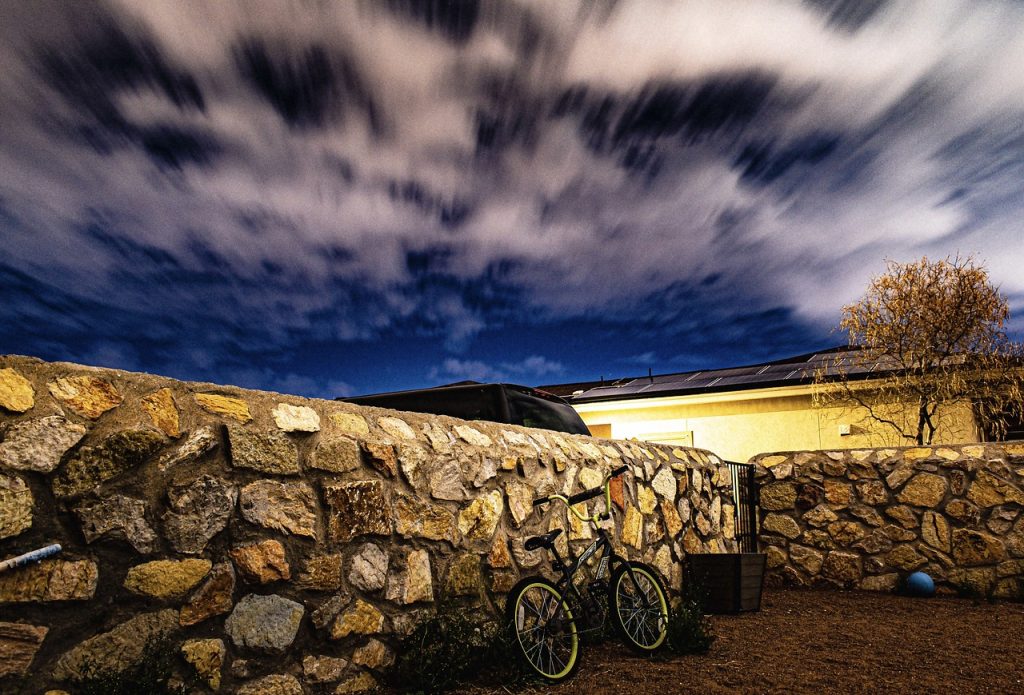
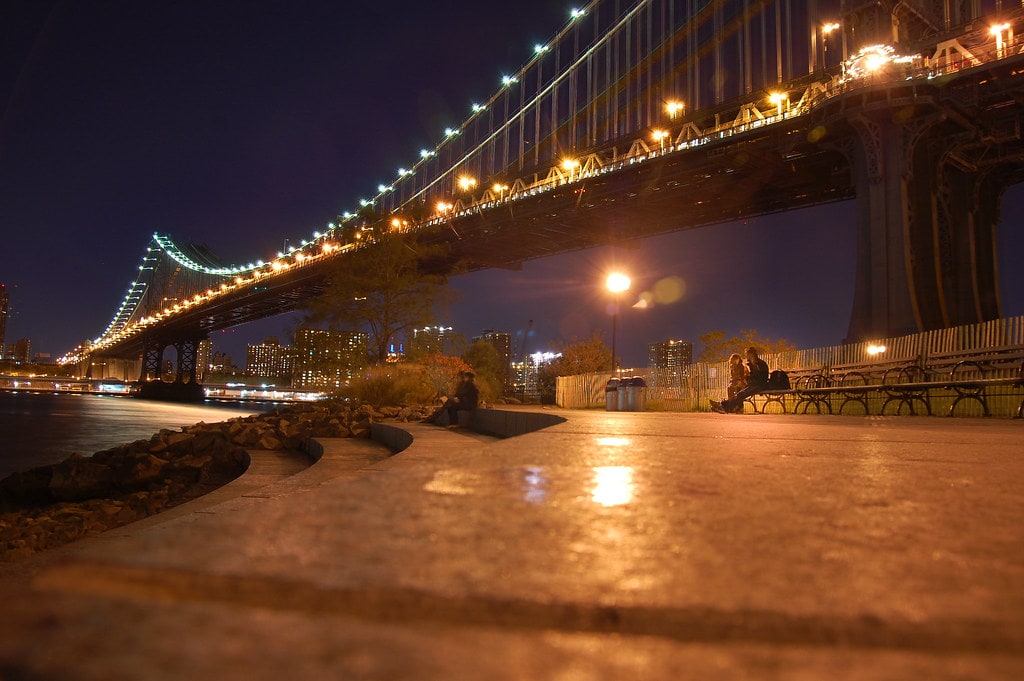
- Experiment with long exposures: Use a tripod and slow shutter speeds to capture motion blur and light trails or create ghostly effects with moving subjects.
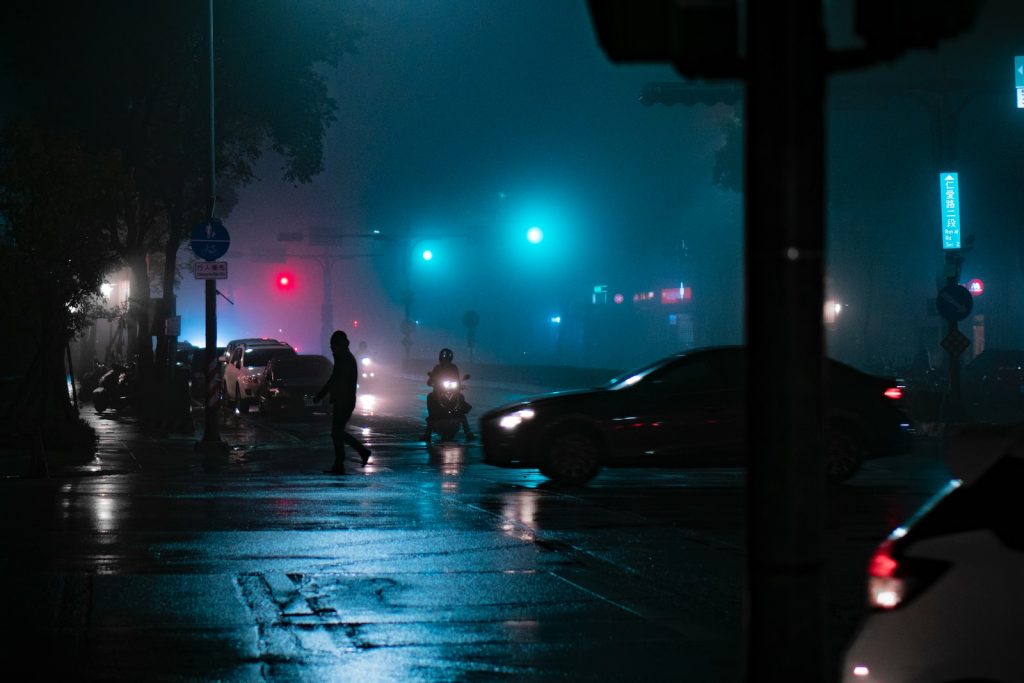
- Utilize reflections: Capture reflections on water, glass, or other reflective surfaces to add depth and visual interest to your images.
- Play with shadows: Look for interesting shadows cast by your subject or other objects in the scene, and use them as compositional elements.
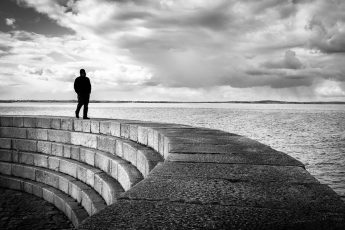
- Incorporate silhouettes: Position your subject against a brighter background to create a dramatic silhouette effect.
Post-processing Techniques
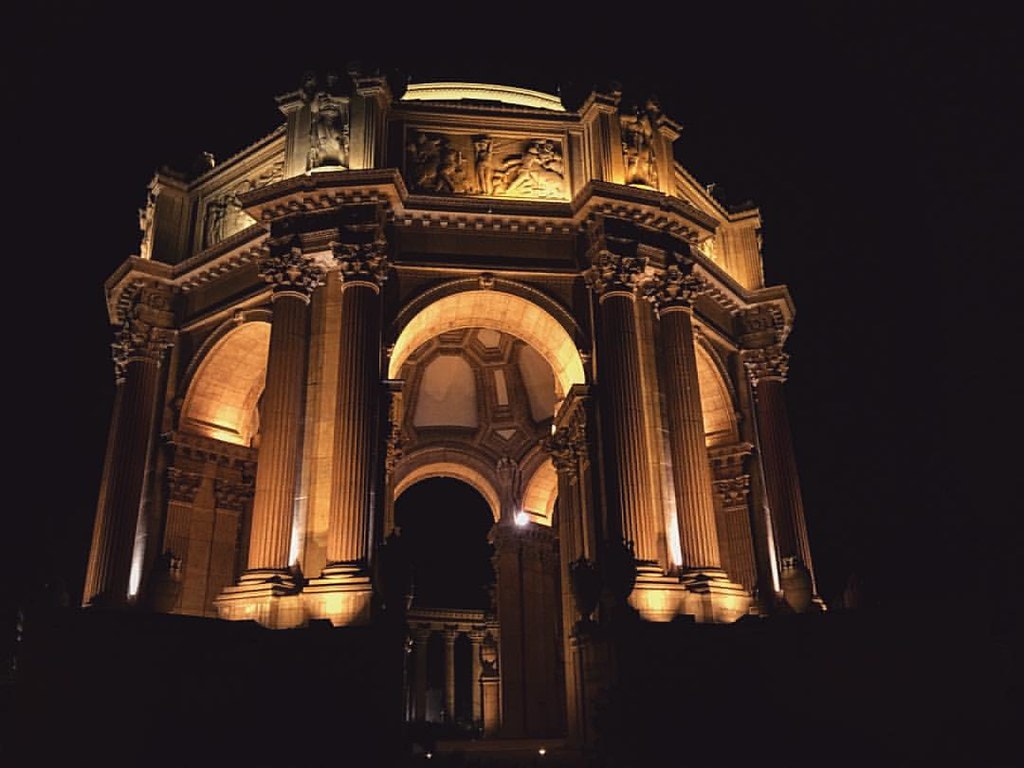
Post-processing is an essential part of low-light photography. Here are some techniques to help you enhance your low-light images:
- Adjust exposure: Boost the exposure in post-processing to reveal more details in the shadows without overexposing the highlights.
- Reduce noise: Use noise reduction tools in your editing software, like Adobe Lightroom or Capture One, to minimize the graininess caused by high ISO settings.
- Correct white balance: Adjust the white balance to achieve your image’s desired mood and atmosphere.
- Sharpen your image: Apply sharpening tools to enhance the details and crispness of your low-light photos.
- Experiment with split toning: Add color tints to the shadows and highlights to create a unique look and mood in your images.
Conclusion
Low-light photography offers countless opportunities for creative expression and experimentation. By mastering the techniques outlined in this article, you can capture stunning images that showcase the beauty of the night and the subtleties of shadowy environments.
Remember that practice makes perfect, so don’t be discouraged if your first attempts don’t yield the desired results. Experiment with different settings, compositions, and post-processing techniques to find your unique style and approach to low-light photographs.
In conclusion, low-light photography is an exciting and rewarding pursuit. By pushing the boundaries of your creativity and embracing the challenges of shooting in less-than-ideal lighting conditions, you’ll open up a world of possibilities and learn to see the beauty in darkness.

